Would you like to go back to Part 1?
Now it's time to make the body, starting with attaching the Scalemate's contrasting belly color. I am going to teach you two ways of doing this! Decide if you are ready for an intermediate technique or if you would like to start with something easy.
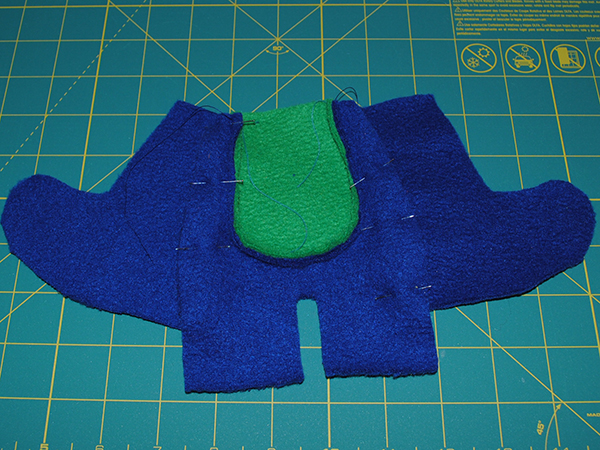
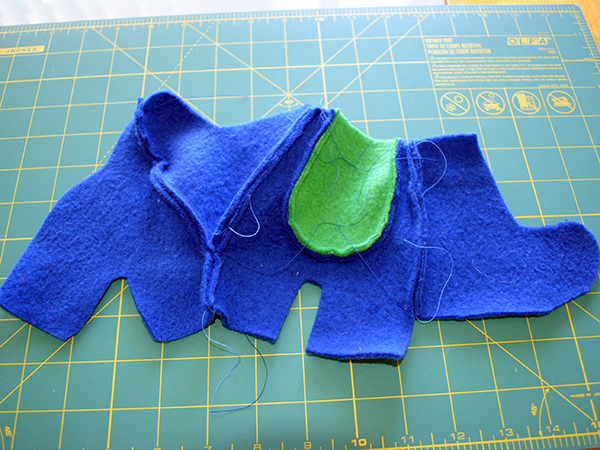
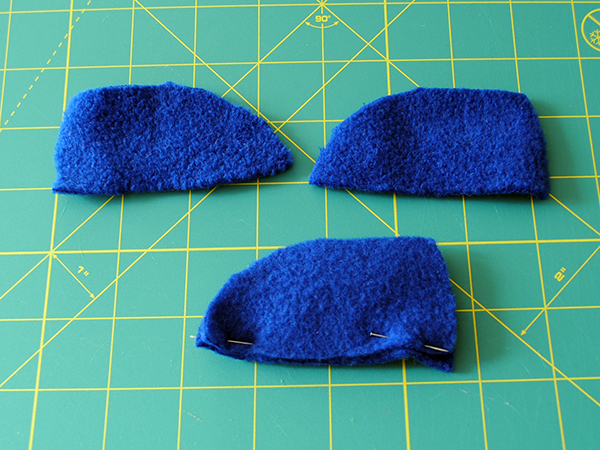
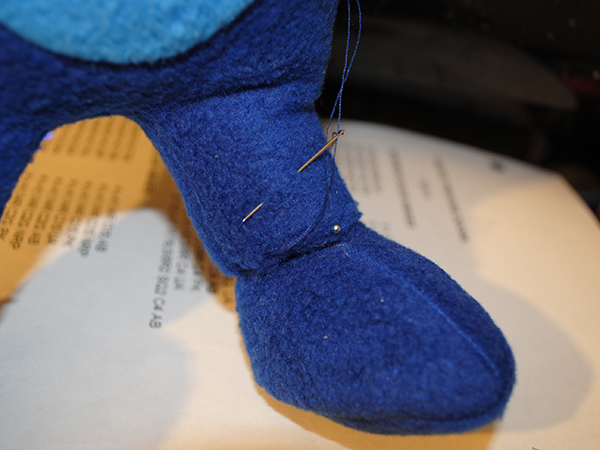
If you would like a challenge that yields better results, cut out the BODY FRONT and BELLY paper patterns following the red lines. Then cut out both pieces in fabric, the BELLY fabric being a different color. The difficulty here is to match up the edge of the BELLY with the hollow in the BODY FRONT piece. However, when placed together with good sides facing, the fabric doesn't line up naturally along the curves. With the BODY FRONT on top, you will have to forcibly curve the edges of the fabric to meet and hold them in place with pins. Try to pin it evenly, starting with a pin on each end, and one in the middle. The picture here shows what the BODY FRONT and BELLY pieces look like, plus a pinned combination with pins going parallel to the seam.
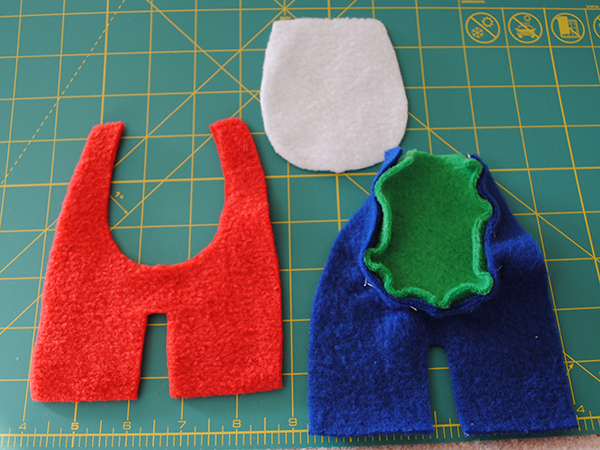
The light green version on the left is what it looks like if the pins were to go in perpendicular to the seam.
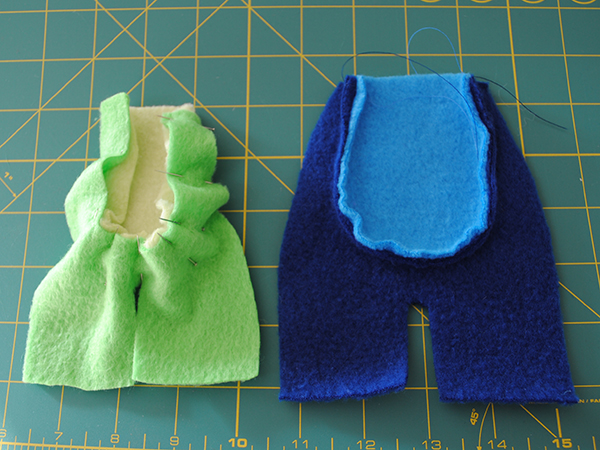
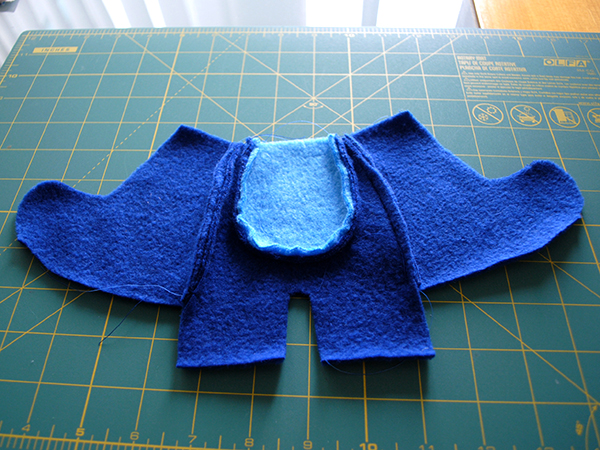
Now carefully sew along the stomach, removing pins as you go and easing out the wrinkles in the fabric. On a sewing machine, that means stopping frequently, lifting the foot and pulling back the fabric so no wrinkles get caught under your stitches. You can see what it looks like finished on the above image to the right.
If this method is too hard for you, read the next paragraph.
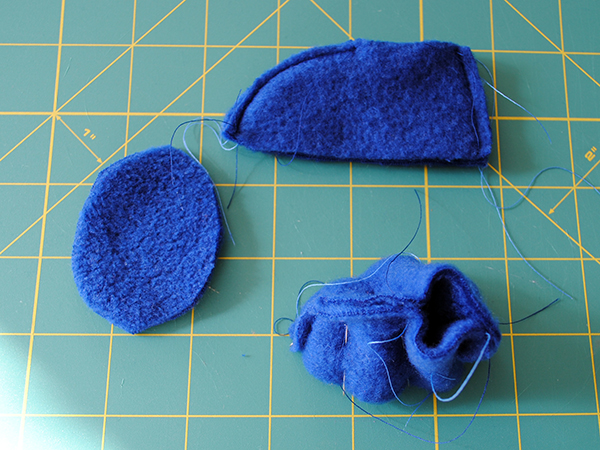
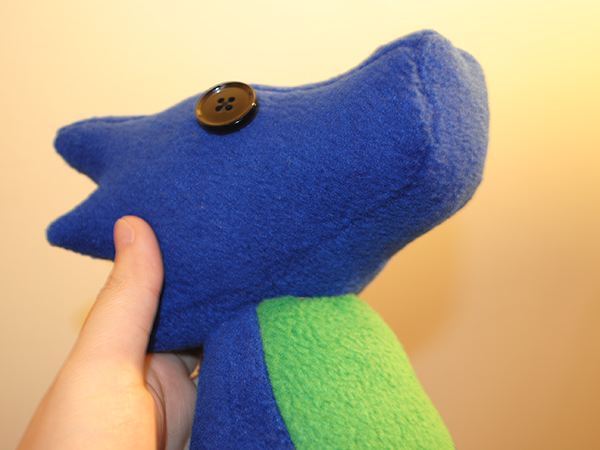
The easy version of attaching the Scalemate's belly to its front requires you to cut out the BODY FRONT and BELLY pattern along the blue lines so that the hollow in the BODY FRONT is entirely filled in and the BELLY is smaller. Cut out both pieces in your desired colors of fabric. Lay the BELLY on top of the BODY FRONT, pin it down, and simply sew along the BELLY's edge. I recommend that you carefully 'whipstitch' by hand, even if you are using a machine. The picture here is of a metroid nuclei being sewn on instead of a Scalemate belly. Same idea.
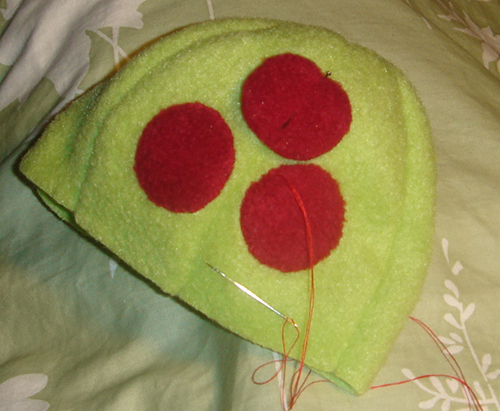
If you'd like to use machine anyways, use the running stitch, sewing as close to the raw edge of the BELLY as you dare, or a satin stitch, which is a zigzag stitch with very little space between stitches. Either way, it is best to use some sort of stabilizer or interfacing to prevent stretchy cloth from stretching during this part. However you went about it, you should now have a BODY FRONT piece of fabric with the BELLY secured onto it.
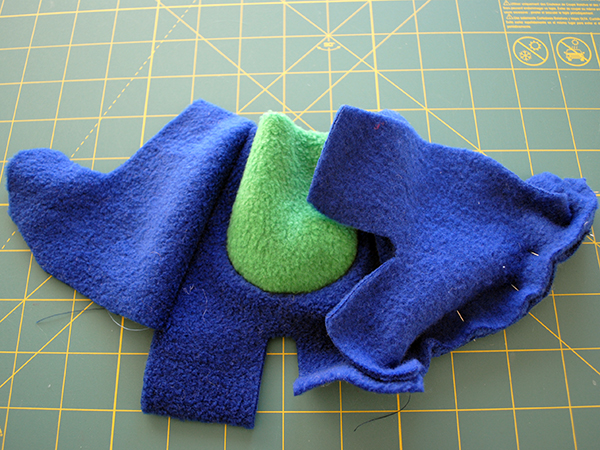
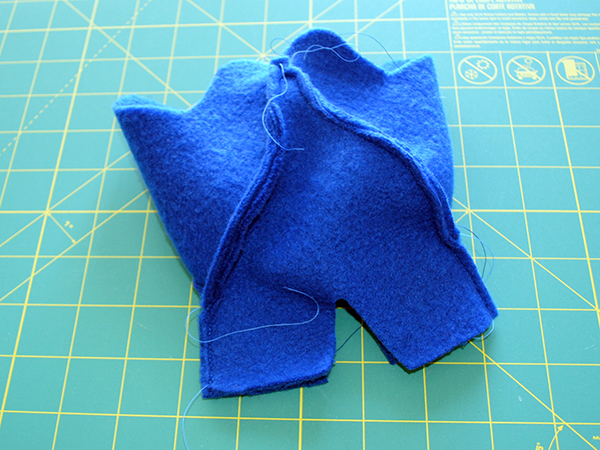
Cut a BODY BACK pattern piece out of paper and then two out of fabric, with one of them mirrored. Place their flat edges along the sides of the BODY FRONT, matching up (D) where the 'neck' will be. Again, take care to have the good sides facing.
Sew the BODY FRONT to the BODY BACK. As you can see, you'll want to sew from the top of the neck just to where the BODY BACK abruptly angles away.
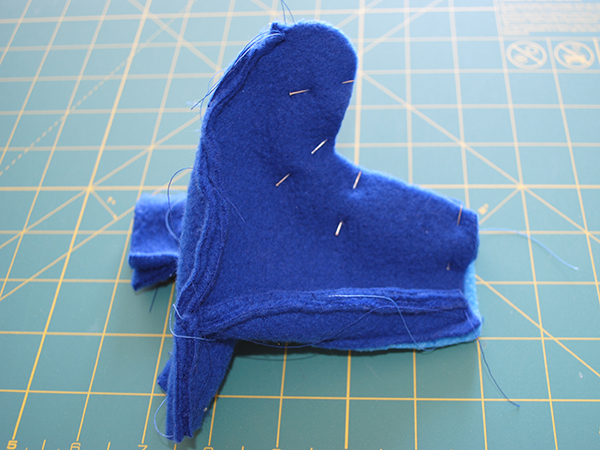
Cut out the BUTT piece on paper, then on fabric. Pin the BUTT legs to the legs on the BODY FRONT, good sides facing, and match one side of the tail along the tail of the BODY BACK. Stop when you reach the tip of the BUTT's tail.
Sew up along the outside of one leg to the tip of the tail. Wait, not all the way to the tip; you'll want to leave about .5 cm or more of the BUTT tail's tip as a seam allowance.
Attach the other side of the BUTT to the leg and tail of the BODY SIDE AND BACK in a similar way. Try to make the seams of the tail meet at a point
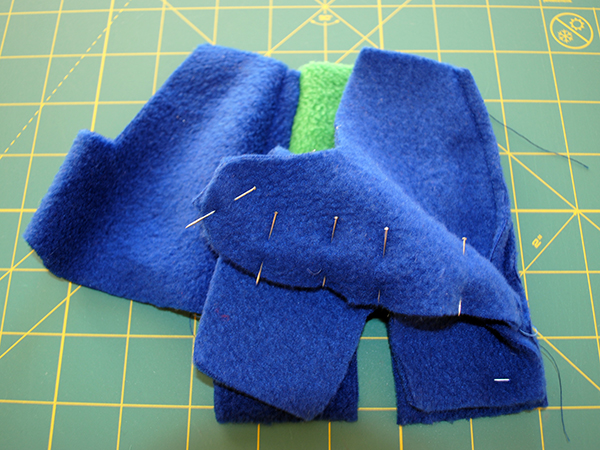
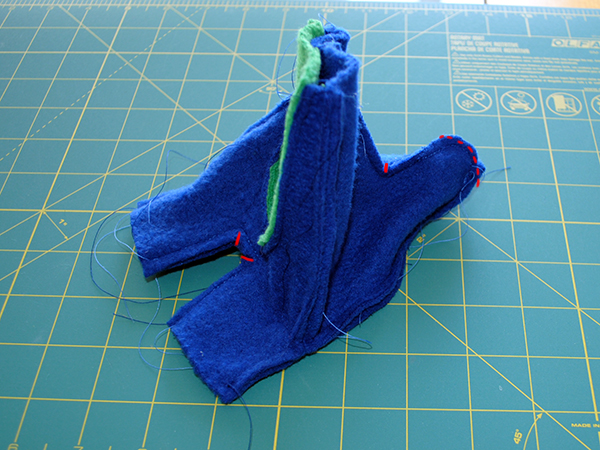
Pin the two BODY BACK pieces together at the center back and tail.
While you're at it, pin together the legs and crotch of the BODY FRONT and BUTT, leaving the ankles open.

Sew along the inside of a leg, the crotch, and down the other leg. Leave the ankles open to accommodate the feet. Sew the BODY BACK together along the tail and back. Try to start sewing exactly where the seam on the tail of the BUTT ends, so no holes occur where the three fabric pieces meet. Snip the seam allowance where the insides of the legs meets the crotch and trim around the tip of the tail and where the tail curves out from the base of the spine, taking care not to cut any thread. The parts where you should cut are marked in red.
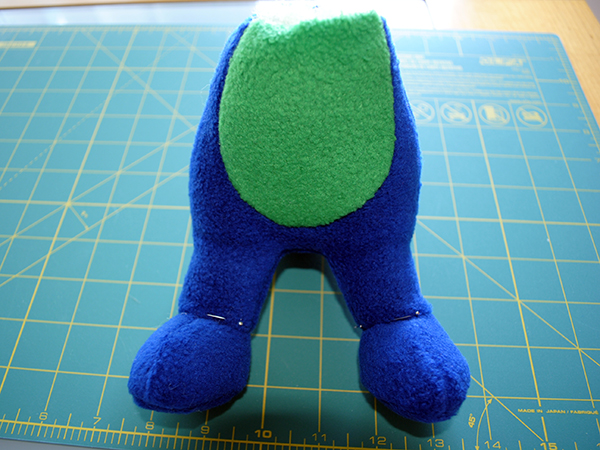
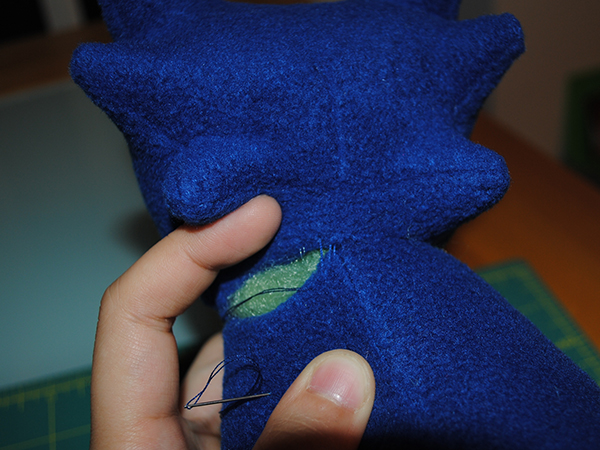
Turn the body inside out through the hole in the neck and you should have a perfect Scalemate body. Which is headless, footless, and unstuffed of course. You can stuff the body to your desired squishiness. Do it a little at a time and work out any stuffing lumps. If you want to add a squeaker to your Scalemate, now's the time to do it. And there you go, a body!

It's time to make the feet. Cut out the FEET SIDE and FEET BOTTOM paper patterns. On cloth, cut two FEET BOTTOM and four FEET SIDEs, with two of those four being mirrored. Pin a normal and mirrored FEET SIDE together, good sides facing.
Sew up the 'heel' of the foot. Then sew up from the tip of the toe to where the notch is. See, you're basically making a little shoe here.
The FEET BOTTOM is kind of eggy shaped, with the wider part being the heel and the tapered part being the toe. Open up the combined FEET parts a bit and pin the toe with the toe of the FEET BOTTOM and the heel with the heel, using the notch to help you line them up. Remember the good sides of the fabric have to be facing.
Sew around the edge of the FEET BOTTOM.
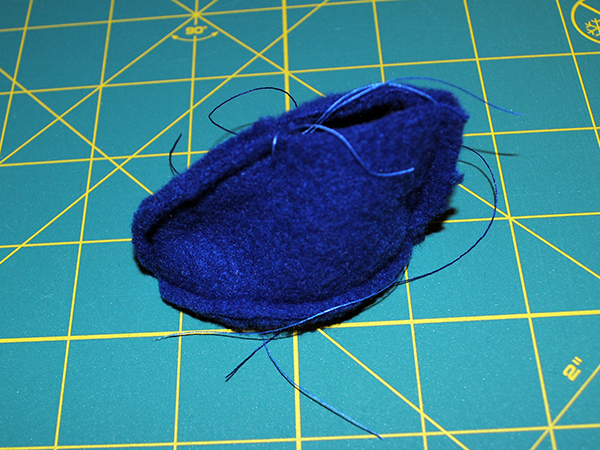
Now if you turn the whole foot inside out, you should have this Scalemate booty. Make two of them.

Stuff a foot and pin it against one open ankle on the Scalemate, folding back the raw edges of both the ankle and the foot. If the opening on the shoe is too big, go back and sew along the notch area to make the opening smaller.
Use the ladder stitch to attach the foot. Add additional stuffing as you go if you feel like you need it. Tie off the thread and hide the loose string in the body before you snip it away. Now do it again for the other foot.
Attaching the head to the body is the same as attaching the foot. Tuck in the raw fabric around the neck a bit and pin the head on.
Then ladder stitch around the neck, adding stuffing if you need it, and tie off the thread.
And there you go! A Scalemate plushie for you add to your courtblock drama. Enjoy the prosecution and subsequent executions~